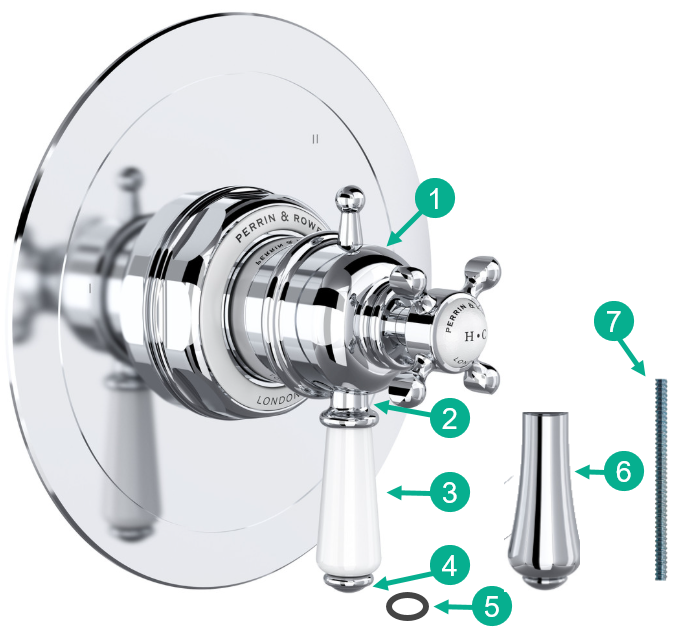
Intercambio de insertos para llaves
Este artículo explicará cómo cambiar entre insertos de metal y de porcelana en el accesorio termostático y de presión equilibrada de 1/2" para las colecciones Georgian Era y Edwardian.
 |
|
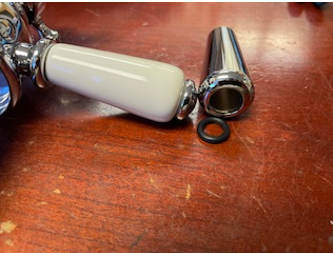
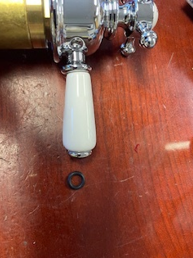
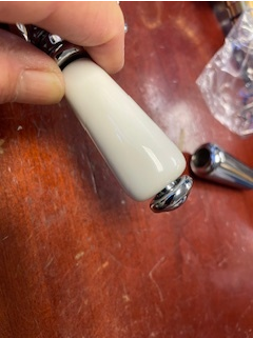
Desmonte el inserto de la llave |
|
|
|
|
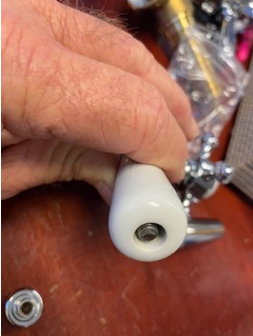
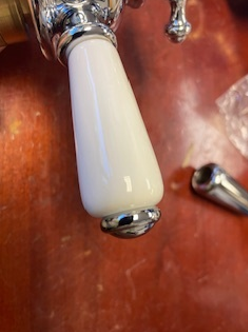
Ensamble el inserto de la llave |
|
|
|
|
|

Contáctenos:Consumidores canadienses: envíe un email o llame al 1-866-473-8442 Consumidores estadounidenses: Envíe un email o llame al 1-800-777-9762 |
 |